How to Clean and Maintain Your Self-Cleaning Oven
Self-cleaning ovens are a wonderful invention that can save you a lot of time and effort. The featured program eliminates spills, grease stains and other food residues without using cleansing products and rigorous scrubbing. And although these types of ovens have been available at a fairly reasonable price for many years, people still feel overwhelmed and unwilling to use the self-cleaning function due to various reasons. Today, our cleaning specialists will share the best way to clean and maintain your self-cleaning oven and turn this chore into a safe and easy experience.
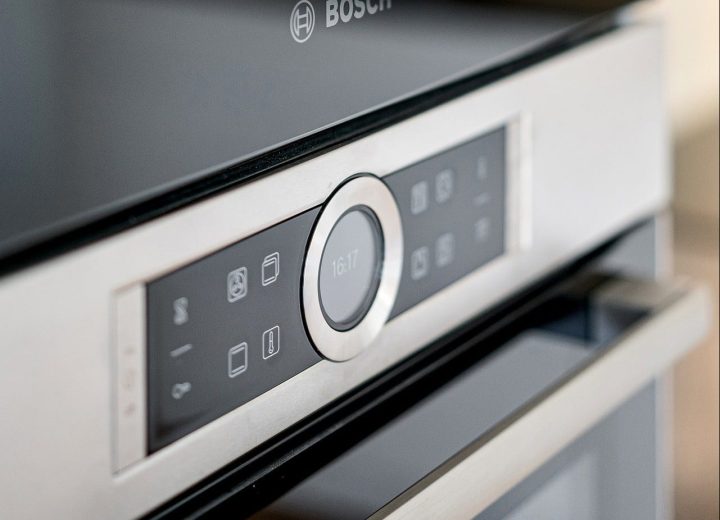
Fat and dirt don’t stand a chance against the high temperatures produced by the appliance.
How does a self-cleaning oven work
A self-cleaning oven gets the cavity spotless without using a drop of chemical cleaners — and without much effort. When you hit the program button on your range, it starts a cycle that produces a scorching temperature of around 500 °C. The heat burns off all the food spills and grease stains, leaving you with a small amount of fine ash on the bottom of the appliance that you can remove easily with a quick sponge wipe. The pyrolytic cleaning cycle can last from 3 to 5 hours, depending on the model and brand of the oven.
Read also: The Ultimate Guide on How to Clean a Heavily Soiled Oven
Benefits of using the self-cleaning program
- No need for chemical cleaners: When cleaning a regular oven, you often need strong cleaning products, especially if the appliance is very dirty. To be able to cut through all the fat and scorched food spills, these cleaners usually contain a number of toxic ingredients that are dangerous for you and the environment.
- No need for protective gear: The self-cleaning oven cycle eliminates all the dirt in the appliance’s cavity using nothing but heat. Therefore, you don’t have to wear the bulky rubber gloves, uncomfortable safety glasses or face masks you usually wear when cleaning the oven manually with heavy-duty cleaning products.
- Labour-saving: This oven function cuts down your cleaning efforts tremendously. You simply run the program instead of bending, scrubbing, scraping, or doing other activities requiring a lot of elbow grease.
- Time-saving: Even though the pyrolytic cleaningcycle can take a few hours, you can do something more enjoyable with your time.
- Cost consideration: You may pay a bit extra for the self-cleaning feature, but using it pays back over time. With a regular oven, you spend hundreds of pounds on cleaning products, scouring pads, gloves and other tools and supplies. And although the self-cleaning cycle does use a lot of electricity, it’s a trade-off for the time and effort you save.
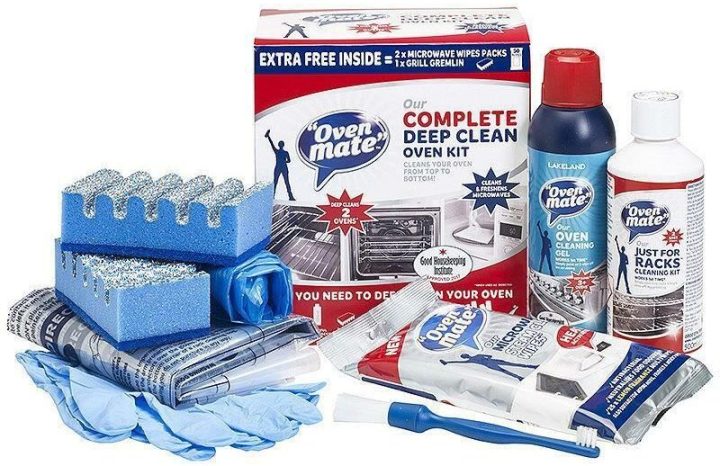
Oven Mate’s cleaning kit is among the products approved by VEA* for safe use in self-cleaning ovens.
Is it okay to use cleaners in a self-cleaning oven?
Self-cleaning ovens’ walls are coated with porcelain enamel called pyrolytic ground coat enamel or vitreous enamel. The material endures the extremely high temperature the appliance produces to incinerate dirt and food residues and turn them into ash. And while this coating is heat and acid-resistant, it can be scratched and damaged if you use harsh chemicals or abrasive products and scouring pads.
- Nowadays, you can find oven cleaners designed especially for self-cleaning ovens. However, before you buy or try any products, remember that it’s best to check the list of formally approved products by relevant authorities like the VEA – The Vitreous Enamel Association in the UK.
- Still, using a solution of water and mild dishwashing liquid is safe if you need to wipe up a grease stain in your oven after cooking. Also, you should never apply any household cleaners during the pyrolytic cleaning cycle to prevent damage to the enamel.
Check also: 12 Spring Cleaning Hacks To Transform Your Home [Infographic]
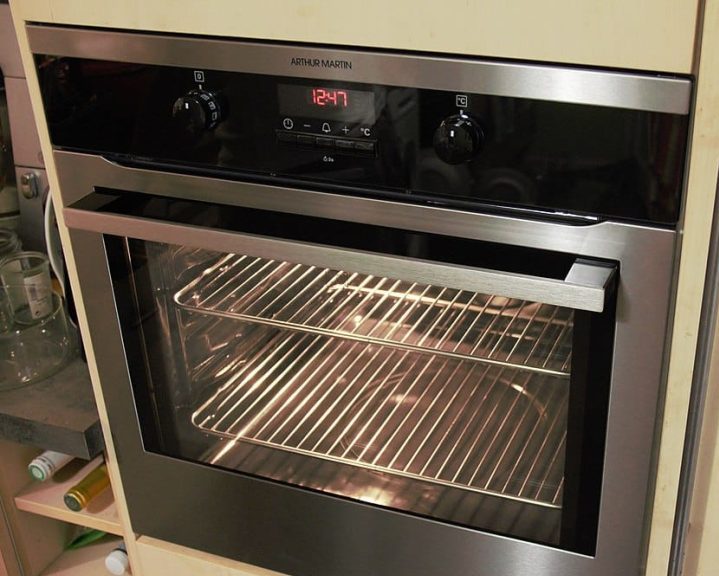
Don’t forget to remove the oven racks prior to running the cleaning program.
How to Use the Self-Cleaning Cycle of Your Oven
Suppose you are using the feature for the first time. In that case, it’s best to check the owner manual provided by the oven’s manufacturer. However, there are a few general steps to follow when running the self-cleaning cycle:
- Prepare the oven – before using the self-cleaning feature, remove the racks unless noted otherwise by the manufacturer. Also, it’s better to remove any large chunks of food residues to minimise the smoke and fumes during the pyrolytic cleaning cycle. If the food is baked onto the bottom of the oven, you can use a non-scratching scraper to loosen the bits and remove as much of it as possible.
- Lock the door – most of the new models lock automatically before the cycle begins. Still, to be safe, double-check if the door is locked before running the program.
- Ensure proper ventilation – turn on the extractor hood or leave the windows open. Allowing good ventilation in the room will help lower the heat and remove unpleasant odours emitted by the oven.
- Run the program – push the button to start the self-cleaning and leave the room.
- Wipe down the cavity – wait until your oven is completely cooled down, and then wipe the ashy residues inside with a damp sponge.
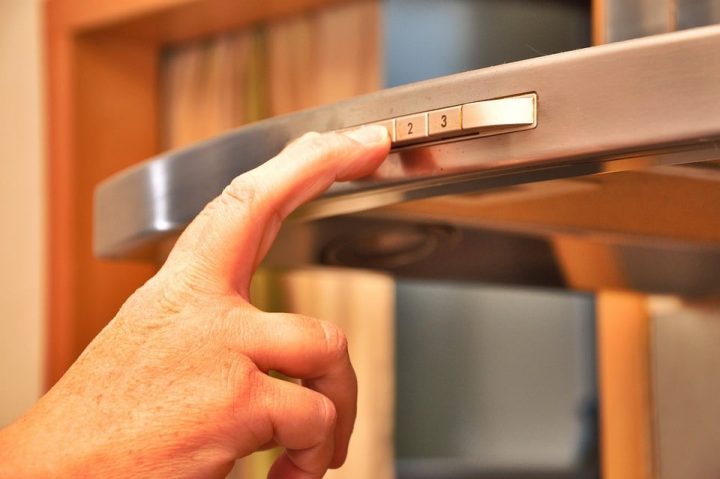
Turn on the extractor hood to deal with the fumes and odours during the self-cleaning.
Read also: The Ultimate Room-by-Room Spring Cleaning Checklist
Safety tips for using a self-cleaning oven
The Internet is filled with horror stories from people claiming that using the self-cleaning feature broke their oven. You can read about melted elements, burnt fuses, burst oven lights, fried controllers and relays, etc. However, all these problems can occur with regular ovens too, so don’t let the horror stories scare you. Moreover, your oven’s warranty should cover the repair cost of any accident that happens during the self-cleaning cycle. Still, you should take some specific precautions to use the feature safely.
Allow proper ventilation
During the self-cleaning cycle, the oven can emit smoke and unpleasant odours. Despite the stubbornly circulating rumours, these are not from the toxic gas carbon monoxide. However, the fumes are quite unpleasant and can set off the smoke detectors. Open the kitchen windows and leave the cooker hood running during pyrolytic cleaning cycle to ensure the area is well-ventilated.
Leave the room
While you can’t suffocate from the smoke your oven produces during self-cleaning, it is still unpleasant and can irritate your airways. That is why it’s best for you and your kids to stay away from the room while the self-cleaning cycle is running. Not to mention that the oven exterior too gets quite hot, and small children can get burned if they touch it.
Keep your pets away
Pets, especially birds, are more vulnerable to smoke. Some specialists say certain tropical birds can suffocate from the fumes emitted during self-cleaning. This never happened to us or any of our clients, but to be safe, make sure your pets are out of the room. After all, if the smoke’s unpleasant for you, it sure is for them too.
Don’t leave anything on top
Make sure to remove dishes, food containers, food, lids etc., from the stovetop. Although only the oven’s cavity is heated, the exterior gets very hot too. Anything left on top can melt and catch fire.
Empty the warming drawer
You should also empty the drawer underneath the oven and remove any pans, baking sheets, baking paper or no paper or linen you keep inside.
Clear out the oven cavity
Before you hit the self-clean button, you should remove everything from inside the oven, including the racks, unless they are documented as self-cleaning. The high temperature (up to 500 °C) can damage the oven racks’ metallic coating, making them more difficult to slide in and out.
Double-check if the door is locked
Every self-cleaning oven has locks on the doors for the users’ protection. The door should stay locked during the pyrolytic cleaning cycle until the appliance cools down completely. Most ranges nowadays have an automatic lock function. However, before running the program, you should always check if the door is locked properly.
Check also: How Often Should You Clean Your Fridge?
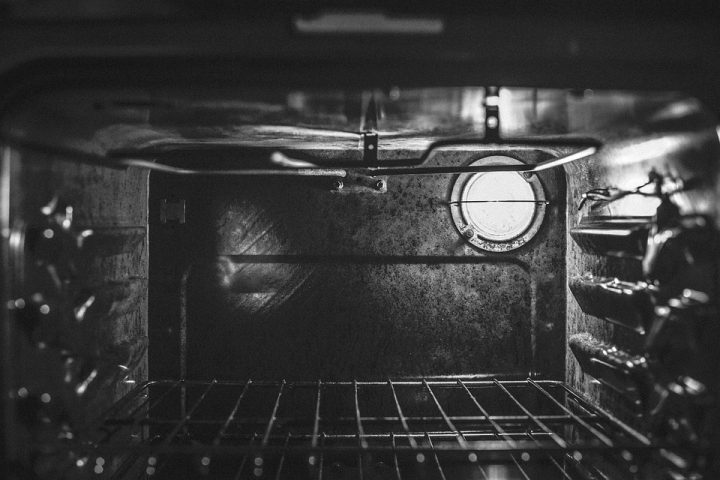
There are a few clear signs your oven needs cleaning.
How often to use the self-cleaning cycle
To prevent getting your oven too dirty, we recommend using the pyrolytic cleaning cycle at least once every six months. However, as with all other types of ranges, your oven cleaning routine depends on how you use the appliance. If you notice any of the following signs, then it’s time to run the self-cleaning cycle of your oven:
- You can’t see through the oven door because of grease or food stains.
- There are crusty and scorched food residues on the bottom of the oven.
- You can smell a greasy or burnt odour when using the oven.
- There’s smoke or fumes when you preheat the oven.
- Change of how the food tastes, especially in baked goods like cookies, bread or cakes.
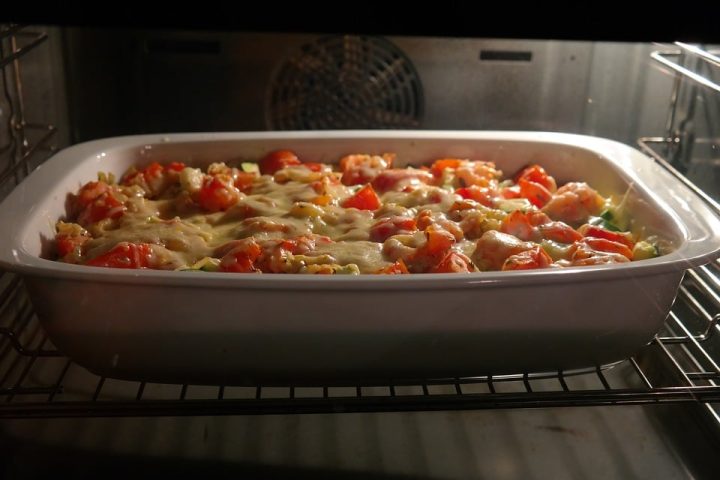
Consider using oven liner when baking cheesy and bubbly dishes like this one to prevent the fast re-soiling of your oven.
How to maintain the cleanliness of your oven between self-cleaning cycles
Think of the self-clean oven cycle as deep cleaning of your appliance. You would want to run it every few months to maintain the range’s cavity in good condition. However, as with regular ovens, it’s best to adopt a few everyday cleaning habits that reduce the need to run the self-cleaning program too often.
- Wipe spills, overflows and splashes as soon as possible to prevent big patches of baked-on food and grease build-ups inside the oven cavity. Wait until your oven has cooled down almost completely, spray some warm water over the dirt and wipe using a soft sponge. If you’re afraid the water won’t cut it, add a few drops of mild dish soap to dilute the dirt.
- Some foods are more prone to dripping. We recommend using pans and baking trays for all the dishes you slide into your cooker, including lazy foods like frozen pizza and pie. Washing your cookware is easier and more cost-effective than deep-cleaning the oven every month.
- Get a non-stick oven liner and place it on the bottom of the cavity. These inexpensive oven sheets catch unwanted spills and drip from messier dishes like bubbly cheesy casseroles.
- Unless your oven racks are documented as self-cleanable, you must pop them out and clean them separately. The best way to make them sparkly clean is to soak them in warm, sudsy water and scrub off the dirt or use a specialised rack cleaning kit. Oven Pride and Oven Mate do the job quite nicely, but you can try any other brand you prefer. Whether you soak them or use a kit, in the end, you should rinse the racks well and allow them to dry completely before sliding them back into place.
- Occasionally, streaks of evaporated cooking liquid might appear on the exterior of the oven door. This is a problem that the self-cleaning cycle can’t handle. So, whenever you notice dirt on the door, spray it with warm water to loosen the stain, then use glass cleaner to polish the spot.
*Please note that we are not affiliated with any products or brands mentioned in this article. We only recommend them as a reference for products that, in our opinion, work well.


