Ultimate Guide on How to Clean a Heavily Soiled Oven
Cleaning a really dirty oven may seem overwhelming, especially if you don’t have a self-cleaning model. Still, the sight of the sparkly-clean appliance and the promise of better-tasting and smelling food is quite rewarding and worth the effort. If you are still trying to figure out what to do or even – where to begin, don’t worry; we have you covered. Our cleaning experts have put together the ultimate guide on oven cleaning at home, and today, we are going to share it with you.
Check also: The Ultimate Room-by-Room Spring Cleaning Checklist

Deep oven cleaning is one of the chores where using a DIY homemade cleaner might just not cut it.
What cleaning products to use for a really dirty oven?
Some prefer natural cleaning formulas and DIY recipes, while others opt for commercial oven cleaning products. Both options are fine. However, if we have to be honest, the effectiveness of each cleaner depends on how dirty your oven is.
- A commercial cleaner is the most efficient option if the oven cavity is heavily soiled. These products contain powerful ingredients that quickly cut through grease and baked-on food spills with minimal scrubbing.
- If your oven is not that dirty, you can use dish soap or prepare your own cleaning solution using natural ingredients like vinegar and baking soda. However, this approach requires a lot of elbow grease, and you may have to repeat the whole cleaning process a few times. That is why we don’t recommend it when dealing with a very grimy oven.
Read also: 12 Spring Cleaning Hacks To Transform Your Home [Infographic]
Our fool-proof oven cleaning method
Deep cleaning your oven can be quite a challenge, but if you approach it seriously and make enough time to do the job right, the results are worth it! When using commercial cleaners, it’s mandatory to take some precautions and protect yourself and the surfaces in your kitchen. We also recommend gathering all the tools and products you’ll need in advance. Once you start cleaning the oven, you wouldn’t want to drop everything off and go to the supermarket for more supplies.

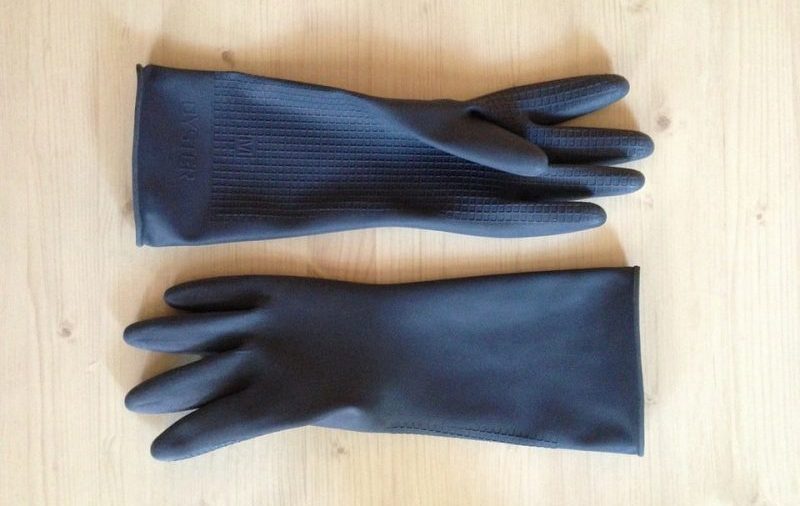
Wearing thick rubber gloves will protect your hands when using commercial oven cleaners.
Safety measures when using commercial oven cleaners
Commercial cleaning products are very efficient; however, you must take precautions when using them because if their potent ingredients. Some of these chemicals can burn your skin, and the fumes can irritate your skin, eyes and airways. That is why it’s imperative to wear rubber gloves when using commercial cleaners and ensure the area is well-ventilated while you clean the oven.
Also, these cleaners are designed specifically for the inside of the oven and oven only! They can cause damage to other surfaces in your kitchen, such as wood cabinets and hardwood floors, and some of the ingredients can even etch stainless steel surfaces. To avoid such unpleasant situations, be careful not to overspray the product and get it anywhere besides the oven cavity. It is also good to lay a large trash bag and a rag under and around the oven door to catch drips from the cleaning product. This protective layer will serve two purposes – shield the floors from burning chemicals and help contain the mess during the cleaning.

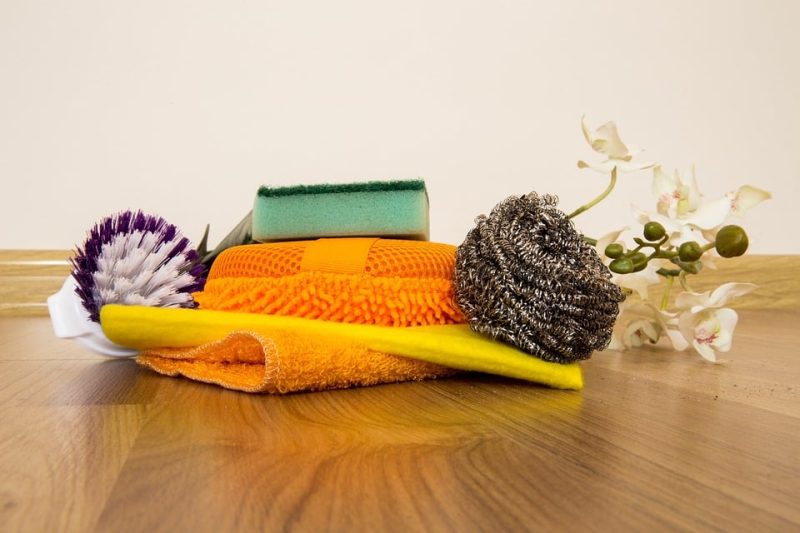
Prepare all the necessary cleaning supplies in advance.
Products and materials you’ll need
Below is a full list of all the tools and products you need to cover any situation when cleaning a heavily soiled oven. Depending on how dirty your appliance is, you may need only some of the things on the list or all. Still, it’s wise to have everything ready so that you can clean without interruptions.
- Rubber gloves
- Safety glasses (optional)
- A non-scratch scouring pad
- Sponge cloth (or paper towels if you prefer them)
- Old toothbrush
- Scraper
- A few large garbage bags
- Rags or old towel
- Commercial oven cleaning product of your choice*
* If you can’t decide on what brand to use, you can try the products of Oven Mate or Oven Pride, as well as Easy-Off Fume Free Oven Cleaner, to name a few. We are not affiliated with any of these sellers or brands; but we know that their ingredients work very well in removing baked-on food and grease when cleaning your oven at home.

Make sure the cavity of your oven is evenly covered by the cleaner.
Cleaning the oven step-by-step
- Start by unplugging the oven from the socket. Some models have sensor buttons, and, of course, you can activate the lock mode. But sometimes, you can accidentally turn on the appliance when you clean it. Our experience has taught us that unplugging the oven is a small safety measure that can make a big difference and save you a lot of trouble.
- Make sure your kitchen is well-ventilated. You can either open a window or turn on the extractor hood.
- Lay the rags around and under the oven to contain the mess. If the kitchen floor is hardwood, put a few large garbage bags under the rags to add an extra safety layer.
- Put on your gloves and safety glasses.
- Empty the oven, taking out all dishes and broiler pans you store inside.
- Remove the oven racks and set them aside.
- Apply the cleaner in the oven following the instructions on the product’s label. You can use an old toothbrush to help spread the product more evenly onto hard-to-reach places. Make sure to cover the whole cavity of the oven, including the door.
- IMPORTANT! Don’t apply cleaner on the electric heating elements or gas vents.
- Close the door and let the product do its magic. Most cleaners take at least 30 minutes to work, but it can take up to 3 hours for heavily soiled ovens.
- While you wait for the cleaner to cut through the grease and grime inside the oven, you can get down to cleaning the oven racks. Some people soak them in their bathtubs. However, we don’t recommend doing this because removing built-up food and grease from the racks can be messy and soil your bathtub. Instead, apply the cleaner on both sides of the racks and put them in a large garbage bag. Close the bag tightly and wait 30 minutes. Some brands have cleaning kits that have heavy-duty bags included with the sole purpose of cleaning the racks.
- After waiting for the cleaner to do its job, it’s time to remove the residues. Use a damp sponge cloth or a sponge to wipe down the interior of the oven and racks. You must rinse your sponge frequently with clean water as you wipe each side.
- Even after using a heavy-duty cleaner, there might be some patches of baked-on food. However, you can be sure that the product has helped loosen the dirt. To remove the last dirt and food residues, you can use a scraper or scouring pad to scrub them away.
- Once the oven cavity, door and racks are clean, it’s time to reassemble the appliance. Place the racks back and enjoy the result – your oven is ready for use!
PLEASE NOTE: Sometimes, you will have dirt or greasy drips between the oven door glass panels. The best way to clean this space is to disassemble the door. However, this is quite a complex task requiring some tools and knowledge. Oven doors have at least 2 glass panels (some models have 3). They are heavy, so there’s a significant risk of dropping the door or breaking the glass if you don’t know what to do. Not to mention, dismantling the oven door will void the appliance’s warranty. It’s best to check the manufacturer’s website for instructions on how to deal with the problem without damaging the oven or voiding the warranty.
Check also: Ultimate Guide on How to Clean Your Luxury Swiss Watch

Baking a frozen pizza like this will get your oven dirty very fast. Using baking trays and pans will help keep the appliance cleaner.
How often should I clean my oven?
Now that your oven is sparkly, it is wise to plan when to clean it again to avoid going through the same gruelling process you’ve just finished. Since the cavity of your oven is usually out of sight, it may also be out of mind. Don’t worry – as you use the appliance, you will notice a few unmistakable signals that it needs a good scrubbing:
- There is grease or grime splattered on the door.
- There is crusty baked food or residue that looks burned on the bottom of the oven.
- A burnt or greasy smell arises when the oven is running.
- You notice smoke or fumes appear when you turn the oven.
- The food starts to taste bad, most noticeably in baked goods like bread or cake.
Still, your oven cleaning routine depends on how you use it. Ideally, it would be best to wipe spills and overflows as soon as possible to avoid baked-on food and grease build-ups. If you cook in your oven daily, you should deep-clean it at least once every 3 months or when you notice one or more of the listed signs above. Of course, taking care of the dirt before these problems appear is better. But even if the appliance gets heavily soiled due to lack of time – now you have the ultimate step-by-step guide on how to clean a dirty oven.
We go through the same steps when cleaning ovens as a part of our end of tenancy cleaning service. We’ve dealt with some very soiled appliances on these occasions, and this methods has never failed us. And we are confident our tips will help you bring back the as-new look of your oven.


